
5 Tips For Staining Pressure Treated Wood to Transform Your Outdoor Space
Are you tired of your outdoor space? Perhaps you have a deck, fence, gazebo, or otherwise that needs a facelift. Or, maybe you are looking to build something from scratch but you aren’t sure how to best protect the wood to keep it looking beautiful for as long as possible. This is why it is so important to understand the best process for staining or painting pressure-treated wood. Understanding the nuances can be the difference between an outcome you are happy with or one that sends you back to the drawing board.
Many people today choose not to stain their outdoor wood products. While the reasons behind this can vary, the truth is that staining pressure-treated wood can help it last longer, maintaining that beautiful appeal that so many homeowners are going for. Staining enhances the wood's natural beauty and provides additional protection against the elements. This means a longer life and cost-saving for you.
But, staining pressure-treated wood doesn’t come without its challenges. And the primary challenge lies in its moisture content. Fresh wood retains moisture, even after it comes from the mill. And staining something with moisture in it does not have the best of outcomes. For this reason, we suggest that you wait to stain your wood until after it has achieved a moisture level of 15% or less.
What is Pressure Treated Wood?
When you hear the term pressure-treated wood, you may wonder why it is so important, and if it is necessary for your outdoor construction projects. The truth is that untreated wood doesn’t stand up to the elements as well as its pressure-treated counterpart. When left unprotected from the chemical treatment process, untreated wood can deteriorate quickly, especially in geographies that are subject to a lot of snow or rain.
For this reason, pressure treated wood is a go-to for DIYers and contractors alike for outdoor construction projects. This lumber is treated under high pressure with preservatives that saturate it with unmatched resistance against decay, insects, and fungal infection.
However, its resilience does come with that one perceived challenge—the moisture content. Fresh from treatment, you can’t simply stain the wood immediately. This high moisture content requires anywhere from a few weeks to a couple of months to dry first. Staining too early can cause uneven absorption and premature wear. This means compromising how long the wood will retain that beautiful look.
At BarrierBoss, we understand the benefits of pressure treated wood and offer a premium grade treated wood that is engineered to last, and help protect our planet. We take this so seriously that we ensure our wood aligns with the requirements to be considered an environmentally preferable product. Wood products with the EPP rating contain volatile organic compounds (VOCs) and minimal eco-toxicity. We realize that might seem like a mouthful. So what does it mean? Basically, the use of products with the EPP rating reduces the footprint we make on the environment. And, you get the added benefit of a product that is built to last.
Waiting for the right time to stain—after the wood has adequately dried—will help it look better for a longer period of time, before restaining becomes necessary.
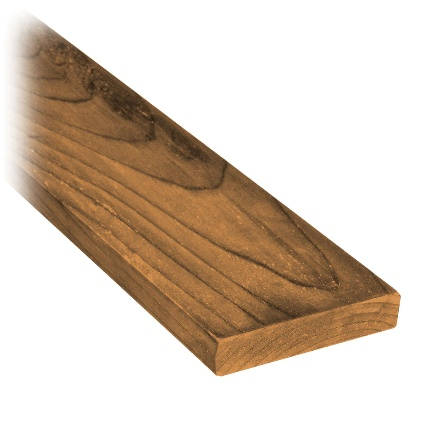
1 X 4 X 8 Pressure Treated Wood
5 Tips for Staining Pressure Treated Wood
Whether you’re working on a deck, fence, garden box, gazebo, outdoor swing, or otherwise, you want your project to last and stand the test of time. That’s why we recommend that you follow these five tips to achieve the greatest results.
- Check For Moisture Content Before You Start Staining
Test your pressure-treated wood for moisture content before you start the staining process. A moisture meter is the simplest way to check the moisture content level in most pressure-treated woods.
Generally, you would want the wood’s moisture content at 15% or below, which could mean waiting several weeks or months. The exact time will vary based on your climate, wood density, and the quality of the initial treatment. Patience is a must: use stain too early and it won’t do the job it should.
- Choosing the Right Stain
The next step is to select the right stain for your project. You can do this while you are waiting for the wood to dry, so as not to slow down the process once you are able to get started. The stain you pick will greatly impact how your project looks and how long it will last.
At BarrierBoss, we recommend water-based stains. These stains are easy to apply and dry quickly. This makes them a great option for those looking to complete their project quickly without jeopardizing quality.
On the other hand, many people in the construction space praise oil-based stains for their penetrative properties and durability. So, be sure to consider your needs, the look you want to achieve, and the geography that you are in. Consider sunlight exposure as well as the amount of moisture in the environment—humidity, snow, rain, etc.
- Preparation for Staining
Once you have selected the stain you want to use, and the wood is at the desired moisture level, it’s time to prepare it for the stain. You should never apply stain to wood fresh from the mill, even if it is at the appropriate moisture level, if it has not been properly prepared.
Wood picks up dirt, debris, and mildew in the environment. So, these things need to be removed from the wood, before the stain is applied. To do this, use a specialized wood cleaner or a mild soap solution applied to a stiff brush. After, rinse with water.
In some cases, you may need to sand your pressure-treated wood to smooth out the surface. However, be careful so as not to inadvertently remove the mill glaze, which is a byproduct of the pressure-treating process. Doing so can affect how well the stain absorbs.
Taking the time to adequately prepare the wood can help improve the chances that you achieve the look you desire.
- Application Techniques
Next on the list is how you apply the stain. For the best results, we recommend that you use a brush, roller, or sprayer. The best tool to use really depends on the size and complexity of your project, as well as your comfort level with one approach versus another. For many, as with painting pressure-treated wood, a brush will offer the most control. This also ensures the stain can deeply penetrate into the wood grain.
While a roller can cover larger areas more quickly and sprayers are indeed the fastest ay to stain your pressure-treated wood, we can’t emphasize enough that your level of comfort with one of those tools is critical. If you have not stained pressure-treated wood before, you may want to start with a brush to grow your skill and master the process altogether.
Regardless of the method, be sure to apply the stain in thin, even coats, working along the wood grain to enhance its natural texture. Be sure not to over-apply as this can cause pooling, streaks, and an uneven finish. Allow sufficient drying time between coats, and be sure to follow the manufacturer's recommendations for the best results.
- Maintaining Your Pressure Treated Wood after Staining
As we alluded to earlier in this article, some people avoid pressure-treated wood because they don’t want to go through the process of staining or painting. And while a naturally rot-resistant wood, like cedar, is always an option, understand that stained pressure-treated wood will maintain its appearance and durability for a much longer period of time.
This said, you will need to maintain and restrain your handiwork from time to time. How often you need to restrain will depend on factors such as climate, exposure to sunlight, and the type of stain used. We suggest that you closely inspect your wood each year to see how it is standing up. And ideally, reapply the stain every two to three years.
As you inspect the wood, keep an eye out for fading, peeling, or cracking. If you see any of this occurring, its an indicator that it is time to restrain. Before restaining, follow the preparation process that we suggested above.
In some cases, sanding to remove the old stain will be required to ensure good adhesion of the new coat. Regular maintenance not only keeps your outdoor space looking its best but also prolongs the life of your wood, ensuring that it remains a durable and attractive feature of your home for years to come.
And as far as maintenance, use a mild dish soap diluted in a bucket of water. This and a soft-bristled sponge is typically adequate for removing mild stains and dirt.
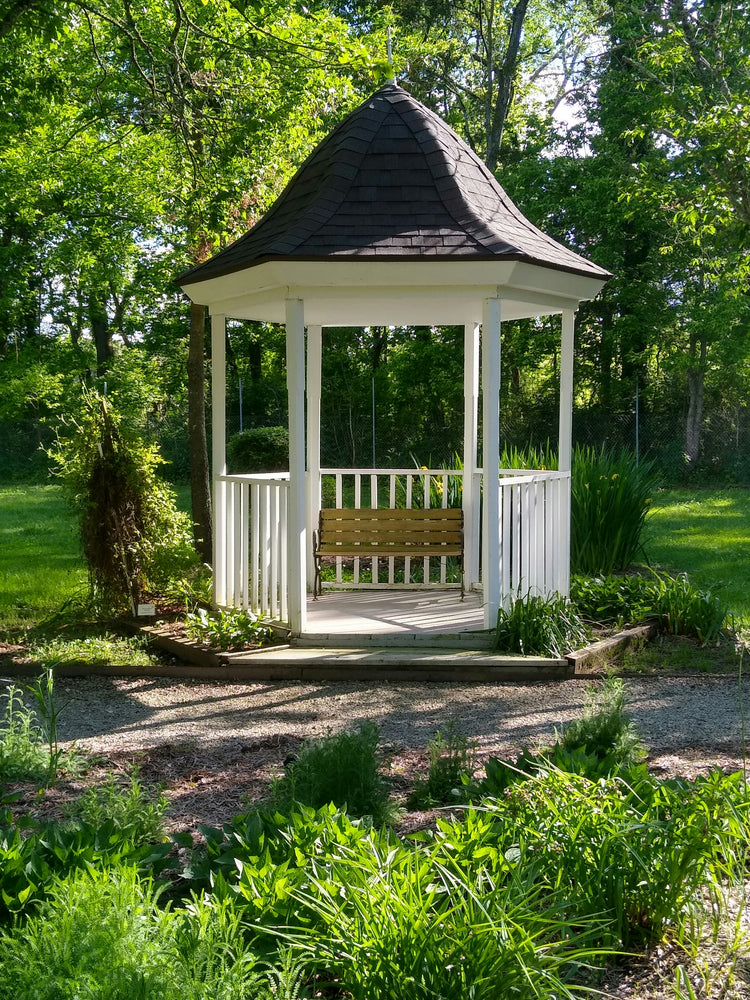
Stained Wood Gazebo
Creating Amazing Outdoor Spaces with Stained Pressure Treated Wood
Properly stained pressure-treated wood can totally recreate an outdoor space. This means a better look and a longer-lasting result. Trust us, the visual transition from raw, utilitarian lumber to richly stained woodwork can be striking and can really upscale your space.
Stain is intended to enhance the natural grain of the wood. And, depending on the stain you select, can provide varying shades from subtle naturals to bold, deep tones that complement any landscape design. But even more so, aside from the look that stain provides, it can help protect a barrier against the element so that your project can last.
Choose BarrierBoss Pressure Treated Wood
Whatever outdoor wood project you are creating, you want to make sure it not only lasts, but maintains that beautiful look it had when you started. Staining pressure-treated wood can help protect your investment by ensuring it lasts.
By following our expert tips and the process to stain pressure-treated wood, you can ensure your decks, fences, gazebos, and any other wood projects keep that beautiful look and remain durable for the years to come.
Are you ready to get started on your staining project? BarrierBoss is here to guide you every step of the way. Visit our product catalog today to explore premium-grade treated wood options that promise beauty, durability, and an eco-conscious choice for your DIY outdoor projects.
Frequently Asked Questions
How long should I wait before staining new pressure-treated wood?
We recommend that you use a moisture meter to determine the amount of moisture still in the wood. Once you have achieved a level of 15%, you are typically good to go to begin your staining project. However, please know that the waiting time can vary based on various factors. So, be prepared to wait for a few weeks to a couple of months before staining.
Can I stain pressure-treated wood if it's still a bit moist?
We do not recommend that you apply stain to pressure-treated wood if the moisture level is over 15%. Doing so can cause uneven coverage, and may lead to peeling or flaking over time. When it comes to staining pressure treated-wood, patience is a key virtue. While you may be excited to get started, we promise that waiting until the wood is properly dry will create a far better result.
What happens if I apply stain on wood that’s not properly dried?
The most common outcome of staining wood that hasn’t dried to the proper level is an uneven appearance. And in extreme cases, especially if you live in an environment that is humid or where rain and snow are prevalent, you could experience peeling or flaking.
How can I check the moisture content of my wood?
Use a moisture meter to determine the moisture content in your wood. These devices are relatively inexpensive and can be found on Amazon or at any home improvement store. Expect to spend about $50 - $75 USD on a moisture meter for DIY projects. Be sure to follow the instructions in the moisture meter’s owners manual, and remove any standing moisture or condensation from the wood (and the meter) before taking the reading.